Introduction
This Code-Along was made for a talk on Datalad in the HPC-NRW seminar. It consists out of two parts: The first one has some basic usage in it, while the second one deals with the usage of Datalad on a cluster. The exercises shown here are self-made, the setup for the second example is based on this paper.
Furthermore, the author would like to acknowledge other helpful resources, that make sense for the usage of Datalad. In particular: The Datalad handbook and the cheatsheet, as well as the documentation for git-annex.
Docker setup
If you want to foo along in an encapsulated docker environment, feel free to use the following configuration:
FROM fedora:40

WORKDIR /home/root
RUN dnf update -y
RUN dnf install -y wget datalad pip vim

ARG user=dataladuser
ARG group=dataladuser
ARG uid=1000
ARG gid=1000
RUN groupadd -g ${gid} ${group}
RUN useradd -u ${uid} -g ${group} -m ${user} # <--- the '-m' create a user home directory

# Switch to user
USER ${uid}:${gid}

WORKDIR /home/dataladuser

RUN git config --global user.email "j_kuhl19@uni-muenster.de"
RUN git config --global user.name "Justus Kuhlmann"
RUN pip3 install numpy scipy matplotlib
Run this by copying this into a Dockerfile, besure to change the git config parameters then use
docker build -t datalad .
docker run -it datalad
to build and run the container.
Part 1: Datalad basics
Install datalad
Install datalad in which ever way is possible. Look at
pip3 install datalad-installer
datalad-installer
how this is possible the easiest. On fedora, you can use
dnf install datalad
on Ubuntu, you can use
apt install git git-annex
pip3 install datalad
Create a new dataset
We have data, that someone produced (maybe it was us, maybe it was one of our collaborators) and we only need to analyse it. Practically, this data is already published as a Datalad dataset, that we will download in just a moment. To speed things up a little, I have already made a python script for you to try and analyse this.
For our analysis, we want to make a new dataset, in which we import the raw data and analyse it with a python script.
datalad create analysis
cd analysis
Add content
Imagine you already have some kind of script, that you have written. An already prepared example can be downloaded from here:
wget -O script.py https://raw.githubusercontent.com/jkuhl-uni/datalad-code-along/master/src/files/script.py
By downloading it, we have changed something in a DataLad-tracked folder. Analogous to a git-repository, we commit the changes:
datalad save -m "add analysis script"
The analysis script is to be used as
python3 ./script.py <data-file> <output-file>
Add another dataset
Next, we want to download the data, that we want to analyse:
datalad install https://github.com/jkuhl-uni/test-data.git
datalad save -m "add data as sub-dataset"
Run the analysis script
Let's try to run it with the first data file:
python3 ./script.py test-data/data1.out ./plot1.pdf
We find that this does not work. This is, since we only have the place-holder files in our installation of the data dataset.
we run
datalad get test-data/data1.out
to retrieve the data. Then we run the script again:
python3 ./script.py test-data/data1.out ./plot1.pdf
Now it works!
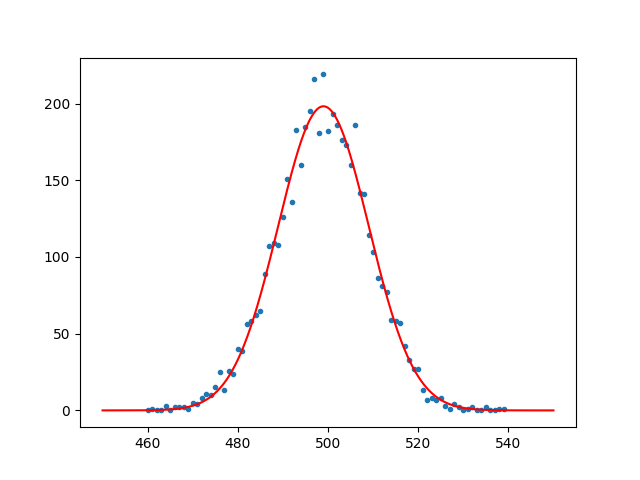
We can have a look at the plot. it should look something like this:
we have changed the dataset analysis. So datalad should also include these changes:
datalad save -m "add a first plot"
Cool, we have a new file in the dataset. But people won't know, how we did this.
Use datalad run and datalad rerun
Instead, we can use datalad run to make this more reproducible.
datalad run -i script.py -i test-data/data2.out -o plot2.pdf -m "add a second plot with datalad run" "python3 ./script.py test-data/data2.out plot2.pdf"
Nice, this looks pretty easy.
We can have a look at the history of the repository as usual with git log [--oneline].
Alright. Now imagine we just had a stroke and forgot how the heck we got the second plot. Luckily, we ran this with datalad run. To redo the changes applied with this commit, we run
datalad rerun <last-commit-id>
to re-do the plot we just made.
Part 2: Example for cluster usage of Datalad
This part of hte code-along is largely based on the structure found in this paper and has been adapted for this tutorial.
In this part, we try to emulate the usage of datalad on a cluster on our own computer: We take, still, the analysis dataset, that we just created. First, we copy the dataset to a new location, using datalad install: in analysis dataset
datalad create-sibling-ria -s ria --new-store-ok --storage-sibling only ria+file://../ria
datalad push --to ria
cd ..
datalad clone analysis analysis_sink
After the processing of our data, we want the new dataset to hold the original data and the processed data. In our case, the processed data (the PDFs) are not that big, however, we can imagine situations, where each of the added files is multiple Gigabytes of data. We open a ria-store, a datalad repository that only holds the data. This is not tracked by git.
Now, if we look at the known siblings, we find that datalad is aware of Now, we imagine that we want to process the rest of the data in parallel. We can parallelise this process "naively" aka we cen simply parallelise it as different jobs. In this example, we will use a wrapper script that can basically be used as the basis to a SLURM script later on.
cd analysis
vim jobscript.sh
The heart of the job script will be the datalad run command from earlier.
The overall script looks somethign like this:
set -e -u -x

MYSOURCE=</absolute/path/to/the/dataset>
WORKDIR=/tmp/
MYSINK=</absolute/path/to/the/sink>
LOCK=~/dataset.lock

number=${1} # this can be replaced by something like ${SLURM_ARRAY_TASK_ID} on a SLURM managed cluster

datalad clone ${MYSOURCE} ${WORKDIR}/ds_${number}

cd ${WORKDIR}/ds_${number}

git remote add sink ${MYSINK}
git checkout -b calc_${number}

datalad install -r .
datalad siblings -d test-data enable -s uniS3

datalad run -i script.py -i test-data/data${number}.out -o plot${number}.pdf -m "add a second plot with a wrapper script" "python3 ./script.py test-data/data${number}.out plot${number}.pdf"

# publish
datalad push --to ria
flock ${LOCK} git push sink
Lets go through that line-by-line: To make our lifes a litle easier, we first define some bash variables.
MYSOURCE=</absolute/path/to/the/dataset>
WORKDIR=/tmp/
MYSINK=</absolute/path/to/the/sink>
LOCK=~/dataset.lock

number = ${1}
They hold the most basic stuff that wewill need later in the execution of our code. NYSOURCE gives the place of the original dataset, WORKDIR the temporary directory, that we do our calculations in.
number is just a placeholder for some commandline argument.
Now the script actually starts.
first, we clone the original dataset to a temporary location and follow it:
datalad clone ${MYSOURCE} ${WORKDIR}/ds_${number}
cd ${WORKDIR}/ds_${number}
next, we add the sink as a git remote.
Now comes the part, because of which we do all of this.
with git checkout -b calc_${number}, we switch to a new git branch.
then, the command is run.
Before the end of the script, push the data to the ria store and make the new branch known to the sink-dataset. Since git does not like it if the push multiple commits at the exat same time, we use flock to make sure we are not interfering another push.
In priciple, if the temporary directory is not wiped automatically, we also need to dake care of cleaning up behind ourselves. This would be done with
datalad drop *
cd ${WORKDIR}
rm -rf ${WORKDIR}/ds_${number}
Once we fought our way out of vim, we save the changes to the dataset:
datalad save -m "added jobscript"
Cool, we have added the jobscript to the dataset. Now, we also make the sink aware of this change:
cd ../analysis_sink
datalad update --how=merge
We change back to the original repository nad execute our script:
cd ../analysis
bash jobscript.sh 3
Okay, if this looks good, we can change again to our sink and check if we indeed have a new branch tracked by git
cd ../analysis_sink
git branch
To incorporate the change into our dataset, we have to to two things: first, we merge the new branch into the master branch and delete the branch after merging
git merge calc_3
git branch -d calc_3
we can check, if the new plot is in the sink with ls.
If we try to gretrieve the data with datalad get plot3.pdf, we see, that this is not possible yet.
This is because the git annex here is not aware yet, that we pushed the data to our ria store. To change that, we use
git annex fsck -f ria
and try to get the data again using
datalad get plot3.pdf
et voila, there it is. Now, we can also execute our wrapper "in parallel" in our shell:
cd ../analysis
for i in {4..7}; do ((bash jobscript.sh $i) &) ; done
and collect the different branches with
git merge calc_4
git merge calc_5
git merge calc_6
git merge calc_7
Finally, if we want to not do this for each branch separately, we can use
flock ../dataset.lock git merge -m "Merge results from calcs" $(git branch -l | grep "calc" | tr -d ' ')
git annex fsck -f ria
flock ../dataset.lock git branch -d $(git branch -l | grep "calc" | tr -d ' ')
where the flock is only necessary, if our cluster might still be working on some stuff.